Chaos Dwarfs – Pushing OSL to Its Limits
What started as a relatively straightforward idea for a Chaos Dwarf Blood Bowl team somehow turned into one of the most technically demanding projects I’ve painted so far.
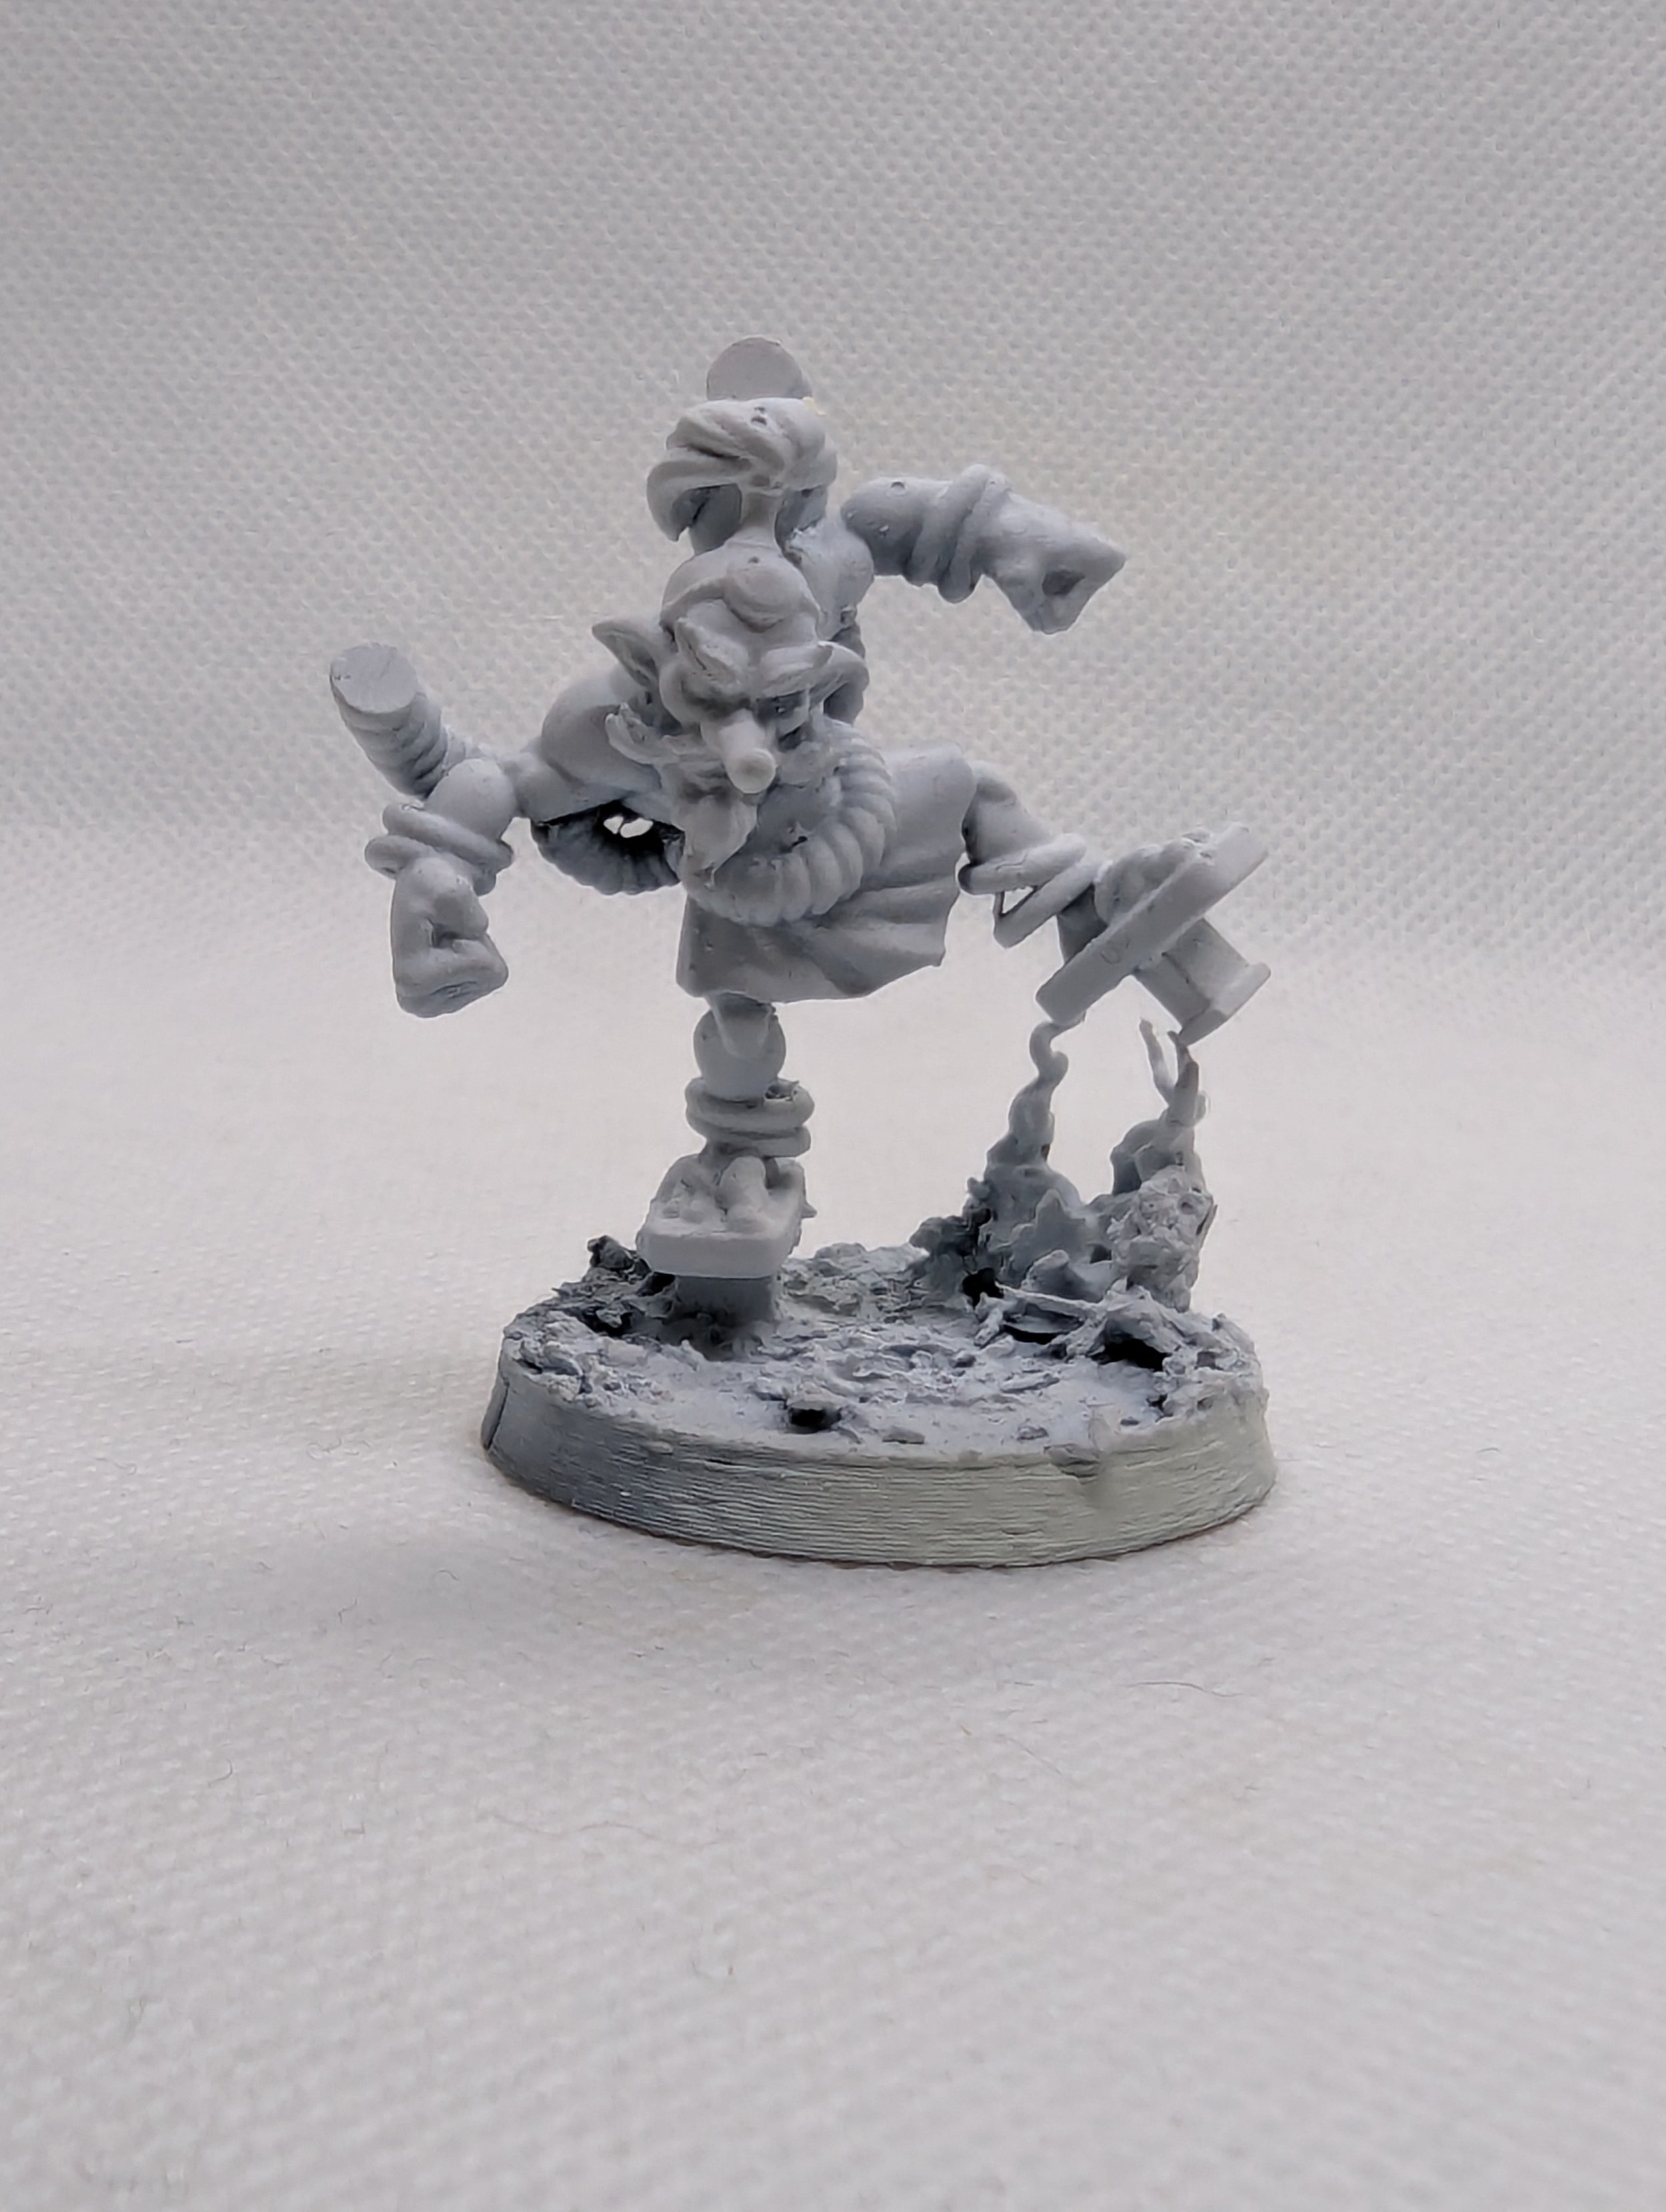
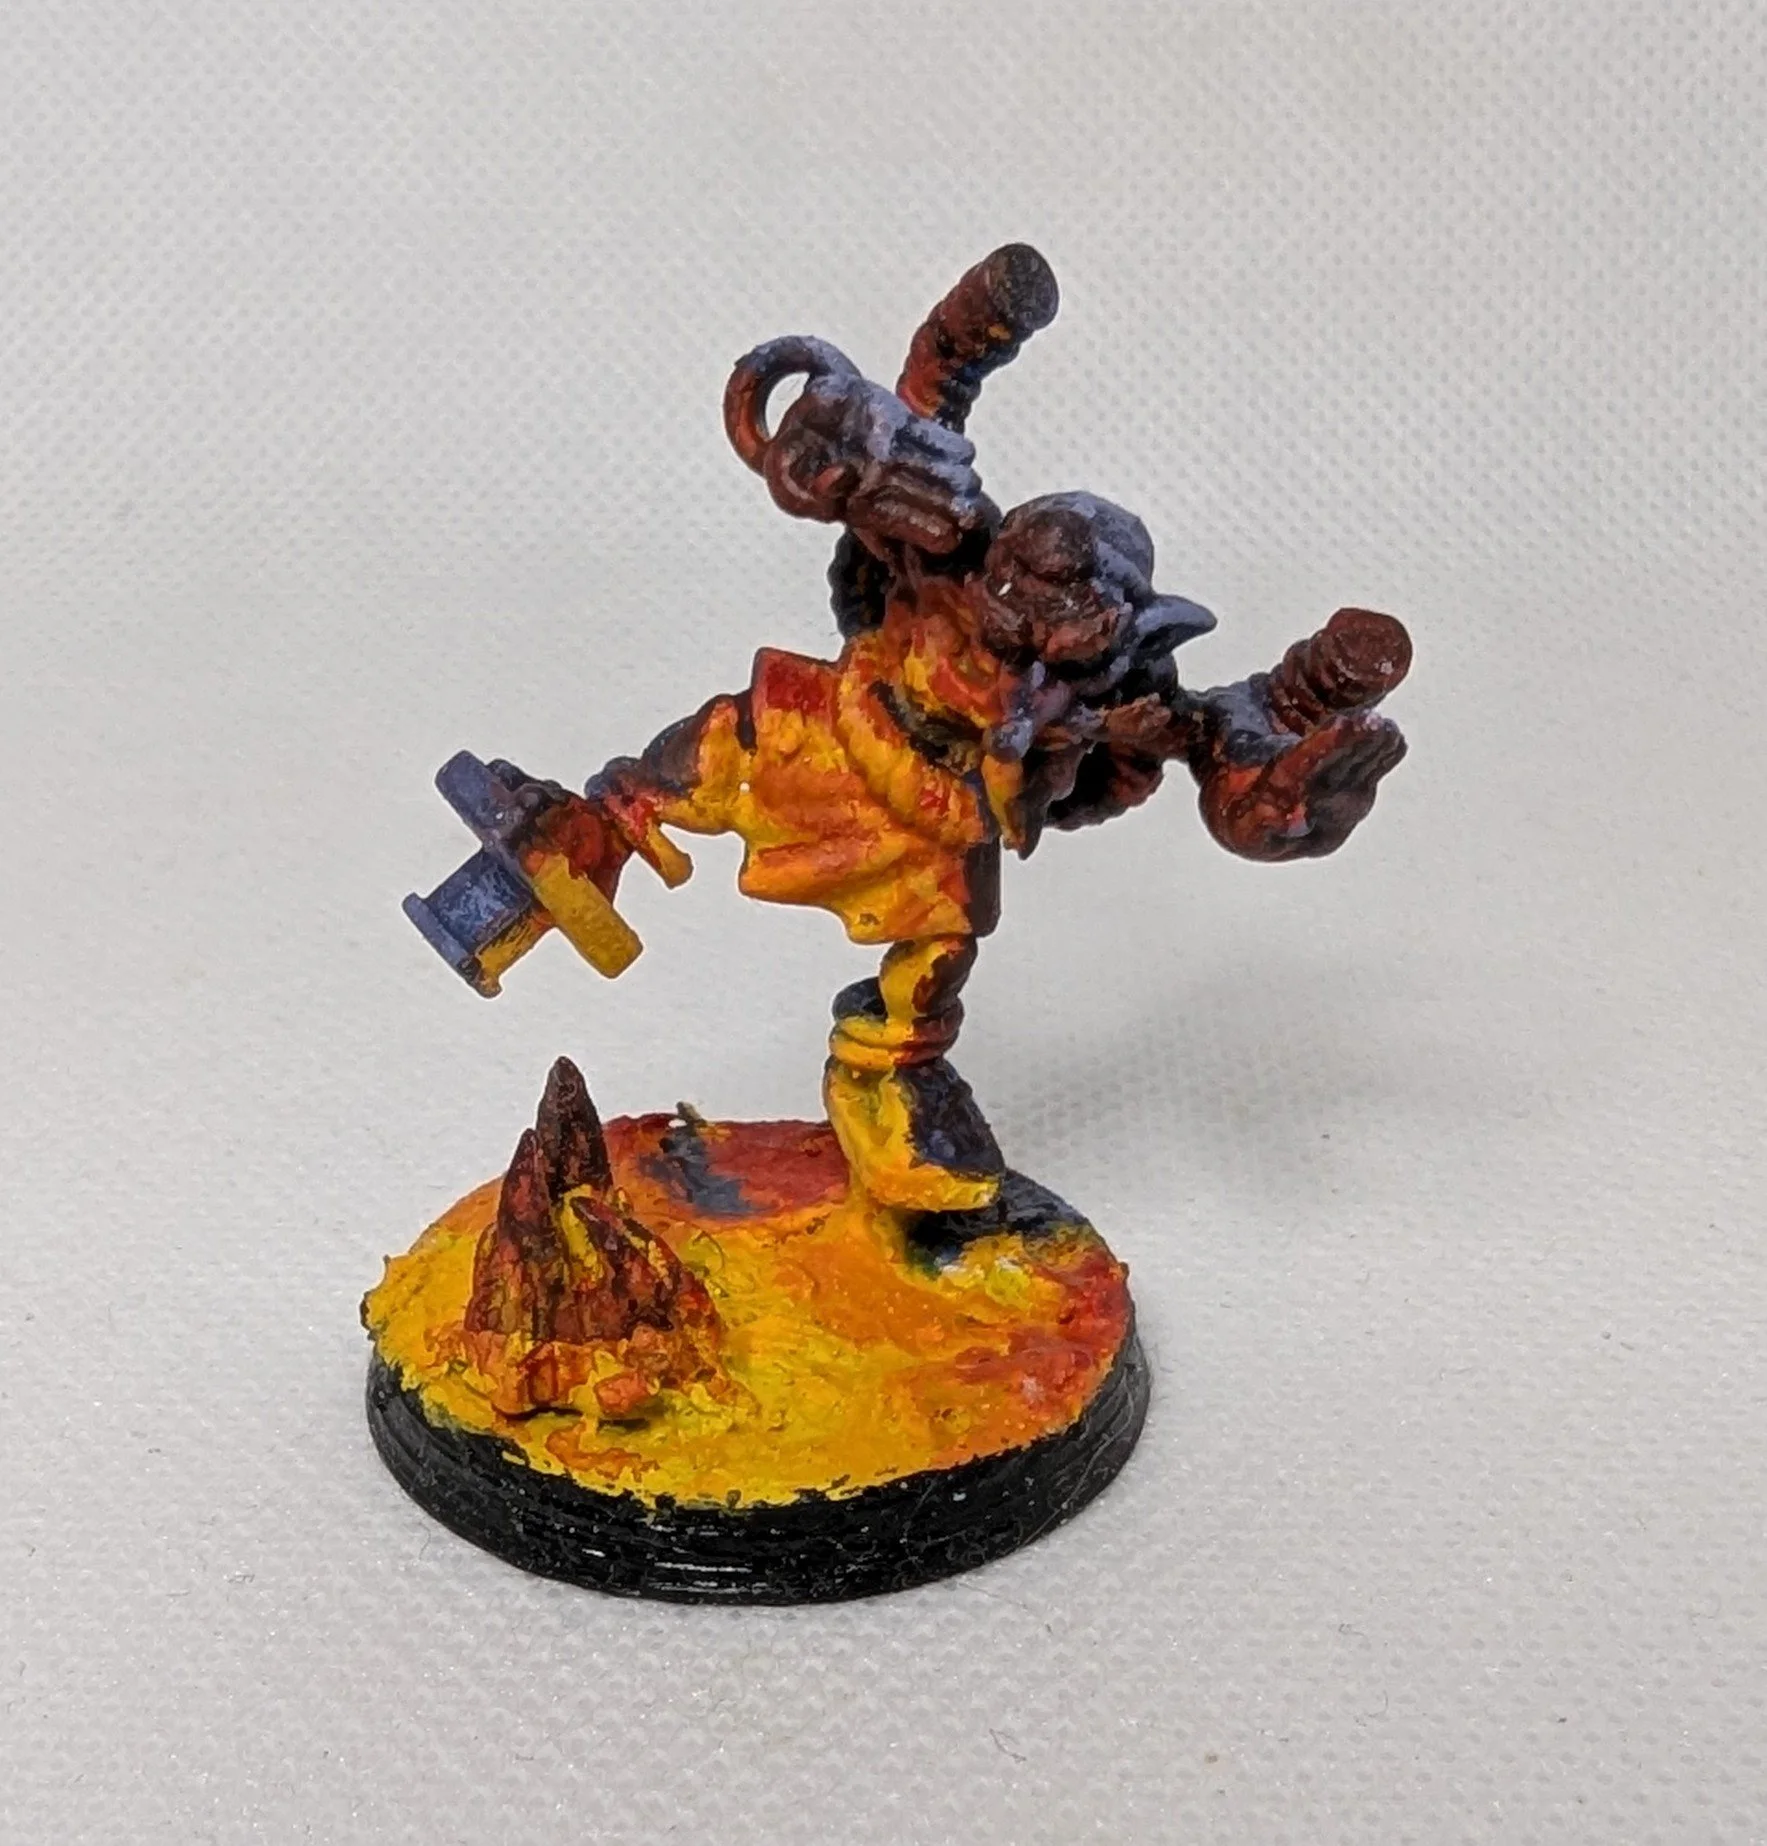
Unpainted Hobgoblin
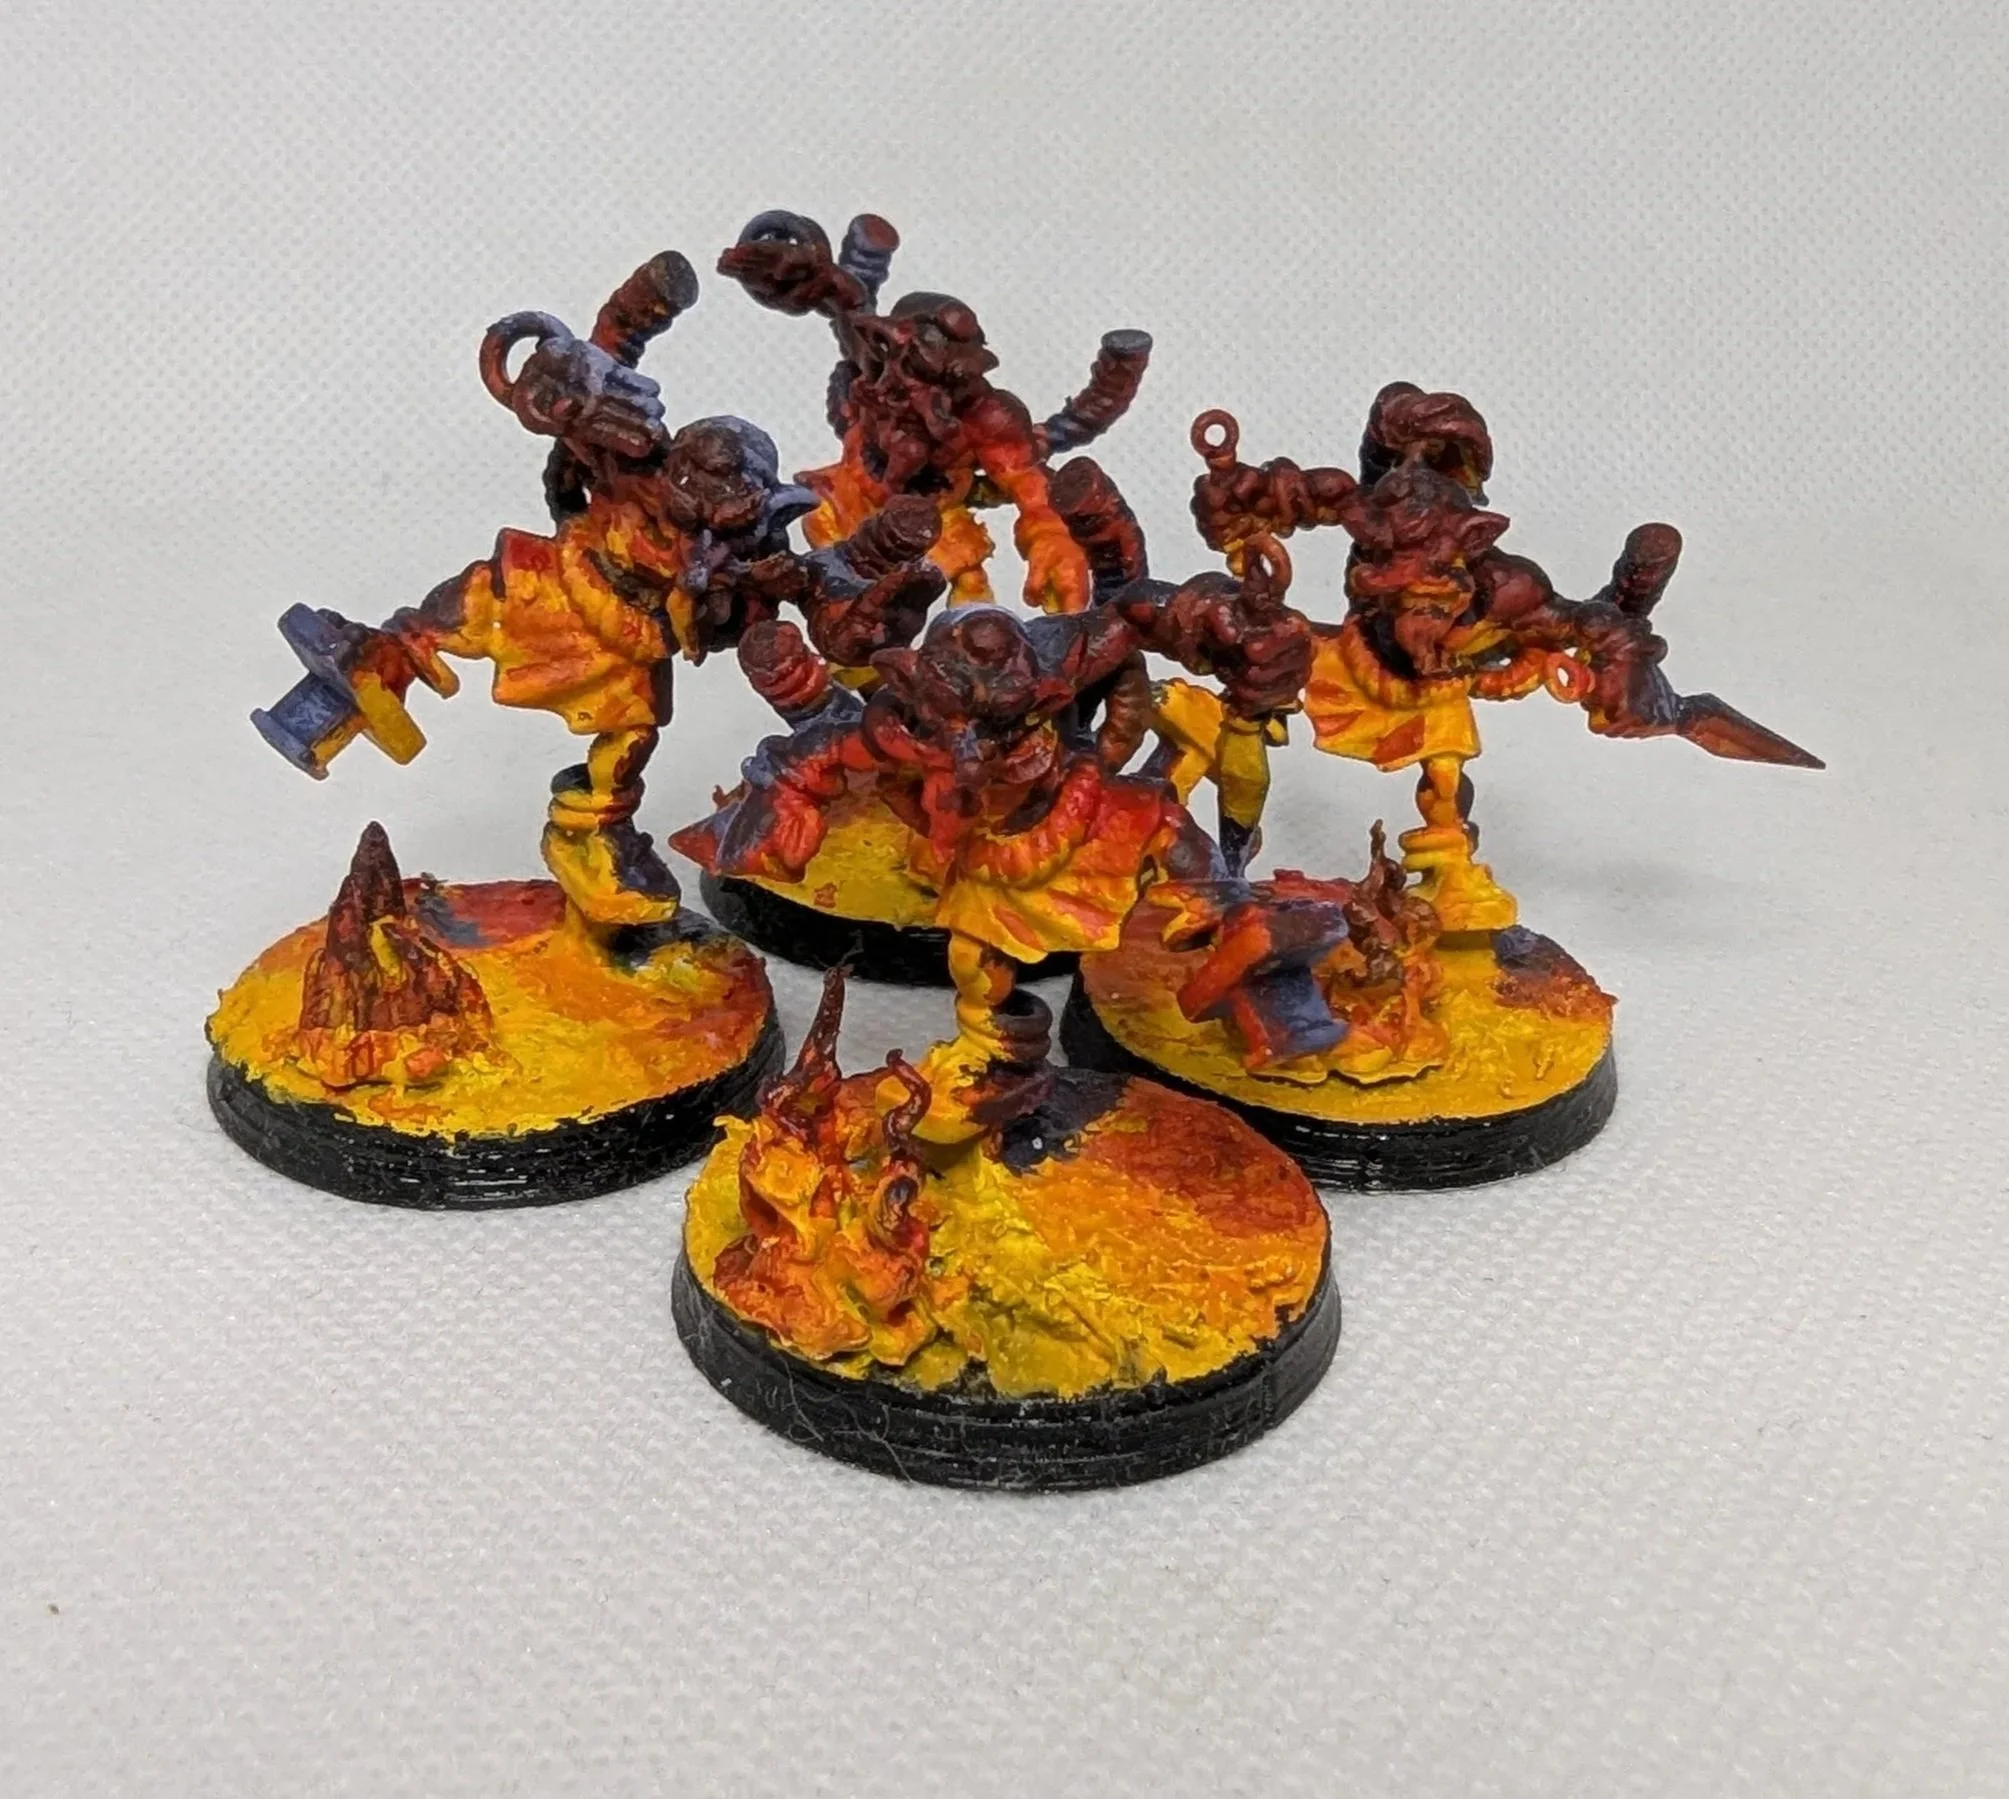
The original goal sounded simple enough in my head: use Object Source Lighting (OSL) across the entire team to create a strong, unified look that stood out from the average team. I wanted the models to immediately stand out on the table through glowing firelight and strong contrast, something that felt cohesive the moment you saw it.
In practice, though, that idea snowballed very quickly.
Once you commit to OSL as a core part of the project rather than just an accent effect, every surface suddenly becomes a question that needs answering.
Where is the light coming from?
How intense is it?
What face would it actually affect?
You stop just painting the model itself and start thinking about the space around it.
That shift in mindset was where the real challenge began.
Early Experiments
Before I properly started working on the team itself, I spent some time testing ideas and figuring out how I actually wanted to approach the lighting.
I painted a couple of test pieces beforehand: one using acrylic paint on a spare Beastman model I had lying around, and a few smaller experiments using oil paint on some spare Hobgoblins.
The acrylic test felt immediately familiar. Even though I was experimenting with OSL more heavily than I had before, the overall process still felt comfortable and predictable. I understood how the paint behaved, how quickly I could layer and correct mistakes, and how to build the lighting gradually.
The oil paints were a completely different experience.
The blends themselves came surprisingly easily. Even with fairly rough and experimental application, the transitions between colours were naturally smooth in a way that felt very different from acrylics. The ease with which the colours could blend on the miniature was definitely appealing.
What I struggled with more was creating proper depth and contrast on the miniature.
I found that although the colours would blend easily, I had a lot less control over the placement of the colours and transitions. The colours on the miniature, although vibrant, did look rather flat, removing a lot of depth from the miniature, and when I was already painting this in a way that would naturally remove a lot of the depth, I didn’t want the paint fitting me as well.
I also noticed that because the oil paints stayed workable for so long, I found myself constantly moving paint around rather than being able to easily layer the paint to help create some depth in the miniature.
I also experimented with using alcohol to remove some of the paint and pull back areas of light, which did work, but I found the process quite fiddly and difficult to control consistently. I think this effect could be enhanced by using an acrylic undercoat of various colours to create a bit more interest in the highlights.
With acrylics, if something isn’t working, I can usually correct it fairly quickly and continue moving forward. With oils, if I wanted to significantly change an area or build another layer on top, I often had to wait a day or sometimes several days for the paint to fully dry first.
For this project, that slower pace just didn’t really suit how I wanted to work.
That said, I don’t think oils are something I’m finished with entirely. Even though the process didn’t fully click for me here, there’s still something really interesting about the softness and blending they can achieve. It’s definitely something I’d like to revisit later when I can give it more time and attention.
For now, though, it’s probably a technique I’m happy to set aside while I focus on improving my acrylic work further.
Where Things Got Difficult
Early on, the lighting felt manageable.
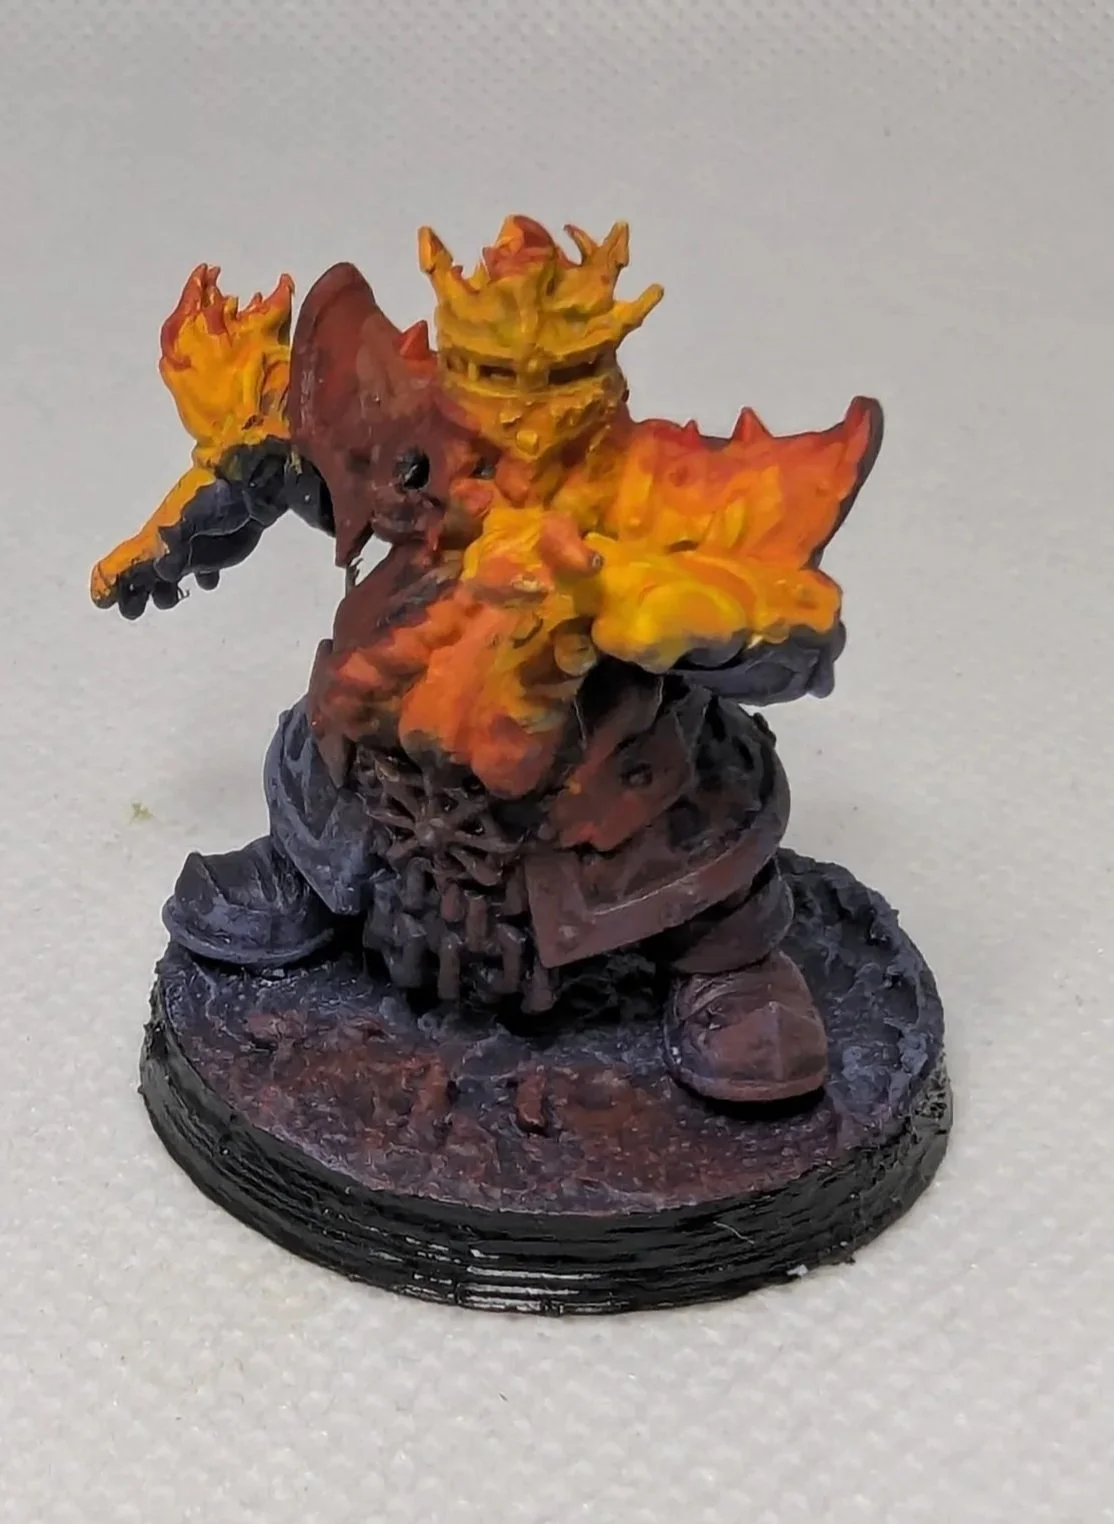
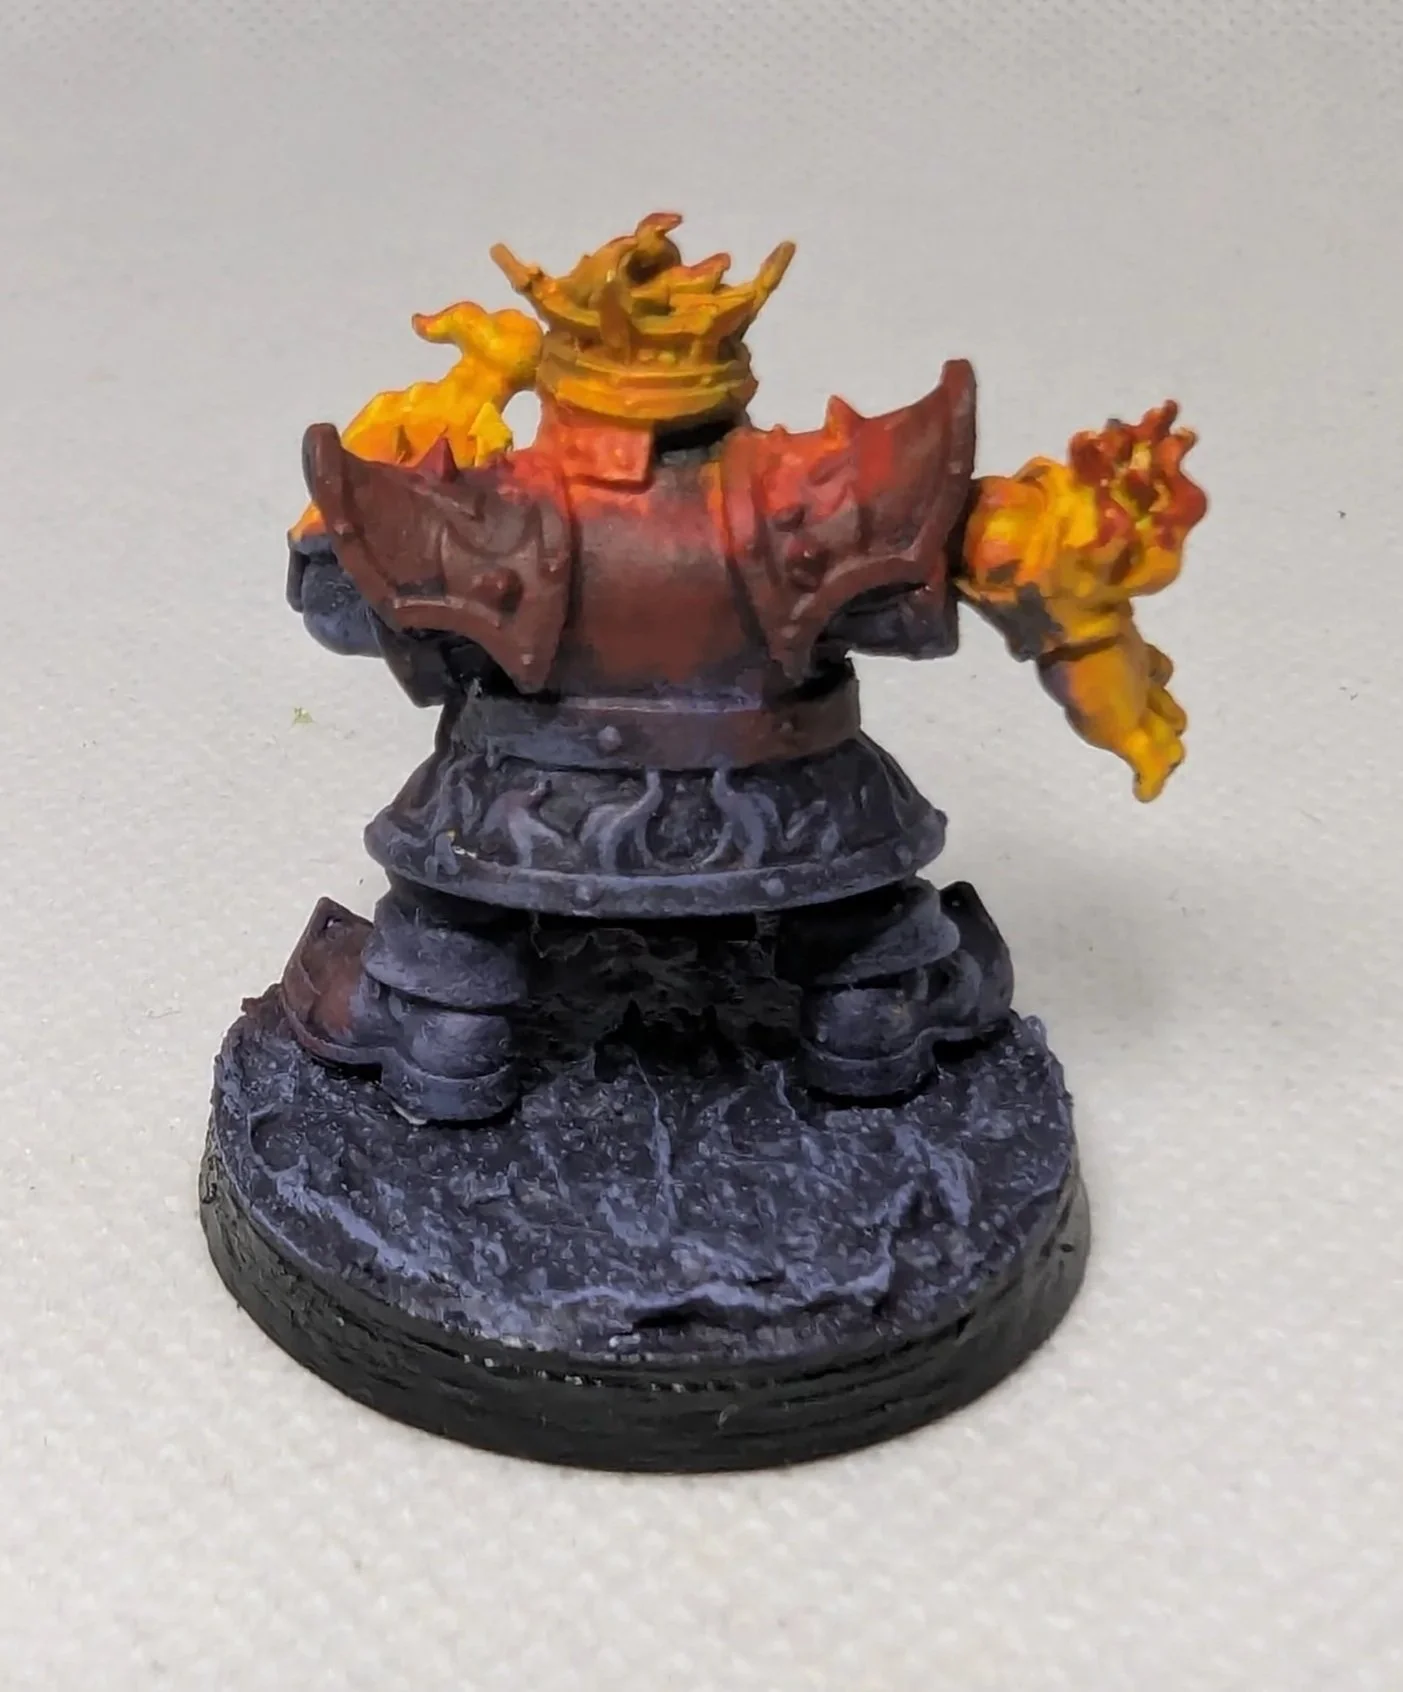
A glowing flame here, some reflected firelight there, nothing too overwhelming. But as the team developed, I kept pushing the effects further. More light sources crept in, the fire effects became more ambitious, and before long, models were dealing with multiple competing sources of light.
That was the point where the project started becoming genuinely intimidating.
Balancing all those elements without the models becoming visually confusing took a huge amount of trial and error. There were several moments where entire sections had to be repainted because the lighting simply wasn’t reading correctly. Sometimes the glow was too strong, sometimes too soft, and other times it just didn’t make sense in relation to the rest of the model.
Even now, I don’t think I completely nailed the effect on every miniature, but I’m still really happy with the results and, more importantly, what I learned from the process.
The Bull Centaurs are probably the best example of how far this approach went.
Each one ended up with four or five different light interactions happening at once, all competing across a relatively large surface area.
Trying to keep that cohesive without overwhelming the model became a constant balancing act between what looked realistic and what simply looked good.
And honestly, that’s where the limits of the approach started becoming obvious.
There’s a very fine line between something looking dramatic and something looking overworked. A few times, I definitely crossed that line before pulling things back again. When you spend long enough staring at the same model, it becomes very easy to keep adding more effects just because it looks cool.
The Biggest Lesson
The biggest thing I learned from this project was probably that restraint matters more than intensity.
I found OSL works best when it supports the model rather than dominating every surface. You don’t need maximum brightness everywhere for the effect to read properly. In fact, it’s the contrast between the dark and light areas that really sells the illusion.
Without that balance, everything starts flattening out, even if the technical execution itself is solid.
I also learned a lot about transitions and blending throughout this project.


Early on, I experimented with rougher, sharper lighting transitions because I thought stronger contrast would make the effect more dramatic. Sometimes it worked, but more often it broke the illusion of the light source entirely.
The smoother the transition became, the more believable the lighting felt.
Using glazes to slowly build those transitions made a massive difference. It helped the light feel like it was actually spreading naturally across the surface instead of just sitting on top of the model.
Looking back, I really wish I had leaned into glazing much earlier rather than trying to correct transitions later on. Once a model was mostly complete, going back and reworking the lighting often meant having to completely re-study where every light source was hitting.
Planning Matters… But So Does Experimentation
One of the bigger mistakes I made during this project was not fully thinking about how the models would actually be viewed, especially from the front.
I became so focused on the behaviour of the individual light sources that sometimes I forgot about the composition of the miniature as a whole. The lighting often made sense in isolation, but not always from the most important viewing angles.
Normally a sculpt naturally guides your eyes toward the face or focal point of the model and you enhance this through contrast and highlights. But with this style of heavy environmental OSL, that becomes much harder to manage because the light itself starts competing for attention while leaving the focal points literally in the dark.
Although it is not something I expected I will be giving the sculpt an extra once over to really look at its composition before I apply apply any paint.
At the same time, I don’t think every project needs to be perfectly planned from the beginning either.
Some of the effects I’m happiest with only happened because I experimented and pushed things further than originally intended. Other ideas didn’t work at all, but they still helped shape how I approached later models in the team.
For me, that experimentation was part of what made this project worthwhile.
Looking Back
As a complete team, I think the final result achieves what I originally intended.
It feels cohesive. It has a strong visual identity. And on the table, the team immediately stands out in a way that feels intentional rather than accidental.
That’s probably the most satisfying part of the whole project.
Not that every individual effect is perfect, but that the team works together as a whole.
Looking back now, there are definitely things I’d approach differently. Some lighting effects could have been pushed less aggressively, and certain areas would probably benefit from cleaner, softer transitions instead of stronger contrast.
But that’s part of learning.
This project was never about playing it safe. It was about pushing a specific idea as far as I reasonably could and seeing where the limits were.
In that sense, it did exactly what I needed it to do.
What Comes Next
OSL definitely isn’t going away for me, but I don’t think I’ll be using it at this scale again anytime soon.
Instead, I want to start treating it more as an accent effect, some glowing eyes, weapons, torches, something that supports the miniature rather than defining every surface on it.
The next few projects will probably lean more toward a traditional painting style with a stronger focus on clean highlights, controlled contrast, and letting the sculpt itself do more of the work.
Still, spending this much time thinking about light completely changed the way I look at painting in general.
Even without heavy OSL, understanding how ambient light interacts with surfaces naturally carries over into every other aspect of miniature painting, highlights, shadows, composition, and focal points.
So while this team might be the most extreme example of that approach for a while, it doesn’t feel like a dead end.
It feels like a foundation for whatever comes next.
Overall, this was a demanding project — but absolutely a worthwhile one.
On to the next.
And remember: always Paint Your Way